- Home
- Contact
- Restoration Gallery
- Services
- How to find us
- Triumph TR4A Restoration
- Triumph TR4 Restoration
- Triumph TR4 Restoration
- Triumph Herald V8
- Triumph Spitfire 1500 Restoration
- Triumph Spitfire MK4 Restoration
- Triumph Spitfire 3.5 V8 conversion
- Triumph Vitesse 2ltr Convertible Restoration
- Triumph Spitfire Mk3 Restoration
- Triumph Vitesse 2ltr Mk2 Body Restoration
- Triumph TR6 Restoration
- Jaguar E Type body restoration
- Triumph Stag Restoration
- Triumph Stag Restoration
- Morris Minor Van Restoration
- VW Type 2 Camper Restoration
Triumph Vitesse 2ltr Mk2 body restoration.
The Triumph Herald and Vitesse range were very popular cars when new and continue to be so now. However, they rusted from day one and although there is the odd one which has somehow escaped the ravages of our wet and salty roads, most of them will have had or will need
extensive repairs to bring them back to factory strength and stiffness. Take a deep breath and read on if you are considering a rotten Herald or Vitesse as a restoration project.......
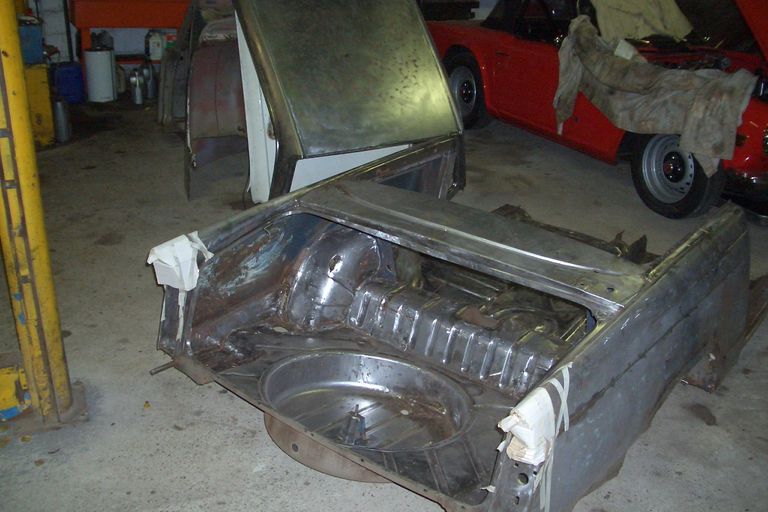
This is how the first installment arrived, rear tub, two roofs, bonnet and bulkhead. All shotblasted and /or stripped down to bare metal by the owner. What a great head start! What you can't see is just how badly bodged and rusty all of these parts are.
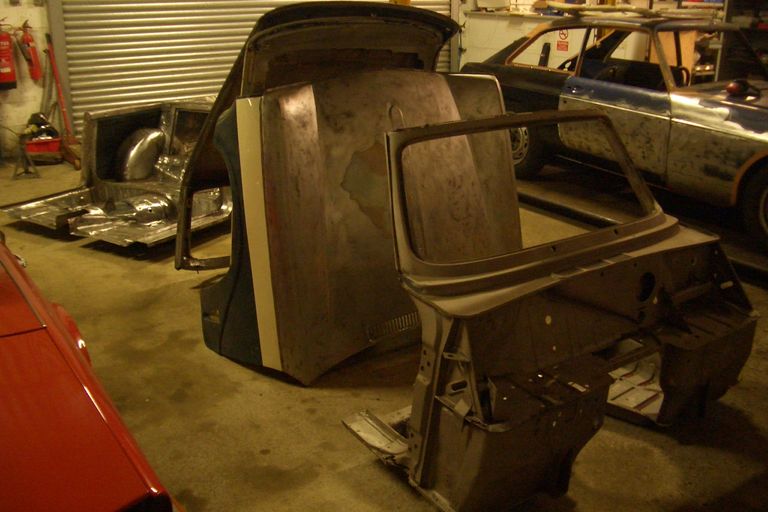
Actually I know this car from many years ago being one of the first I ever worked on in a professional capacity. It belonged to a local
club member, then went travelling through a few owners and somehow ended up back here with me in pieces. It was always a good looking car but was also obviously hiding some nasties as we'll see.
The weldathon starts. Here the OSR wheelarch edge and inner wheelarch panels are removed along with much of the adjoining floor. With a new wing repair, outer and inner wheelarch panels
and numerous small pieces to repair the floor this section is strong again.
It has already had another axle well welded in - much of which needed repairing or removing as it overlapped the original.
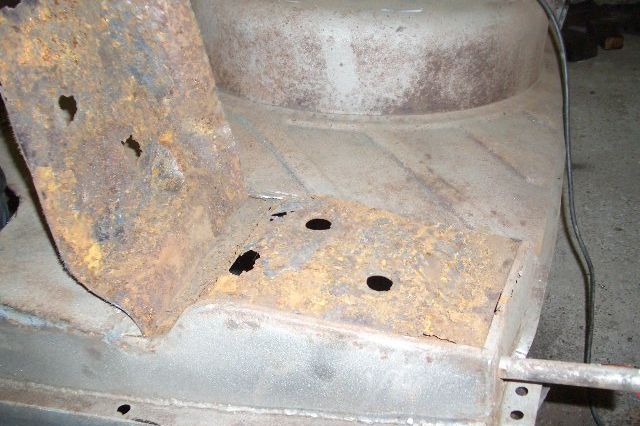
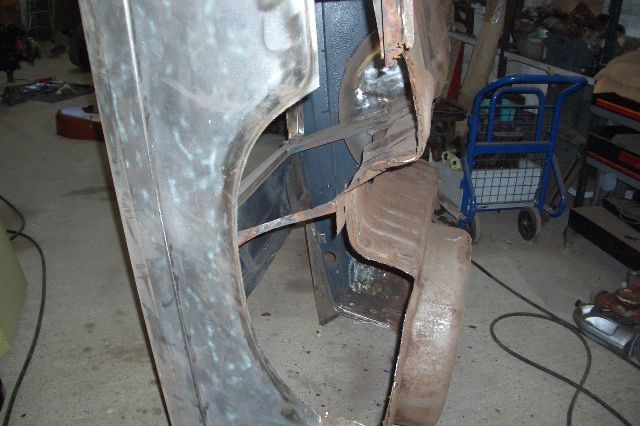
Nasty repairs to the rear chassis mounting point are peeled back to reveal more rot.
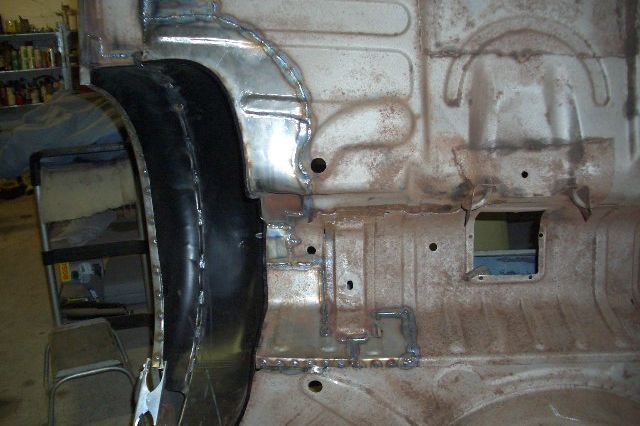
This picture shows finished repair with full new side panel, floor repair up to wheel arch, floor repair to mounting area and numerous other little bits.
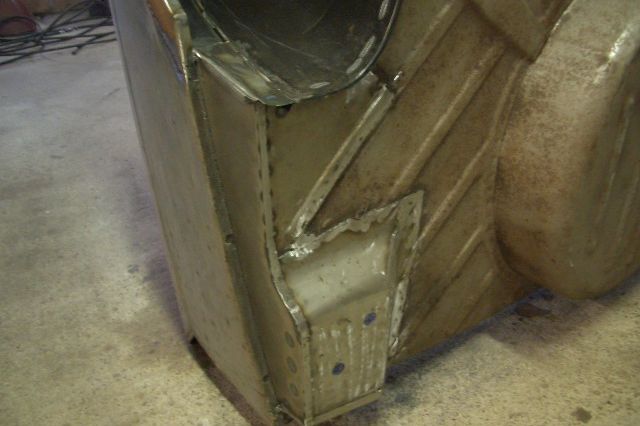
Same repairs going on for other side and a huge fast forward to the finished tub. Repairs were made also to the spare wheel well, all body mounting brackets, seat belt mounts, seat mounts, full sill replacement...............
..........it took ages and it was nice to get a coat of anti rust primer on it and move on.
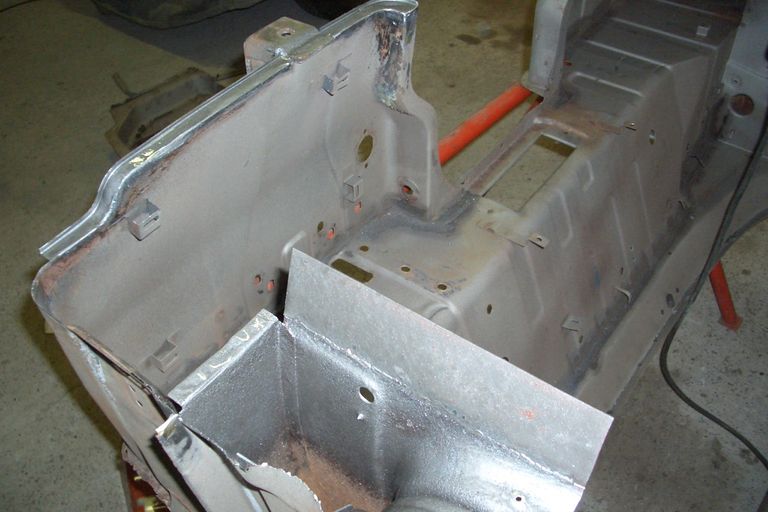
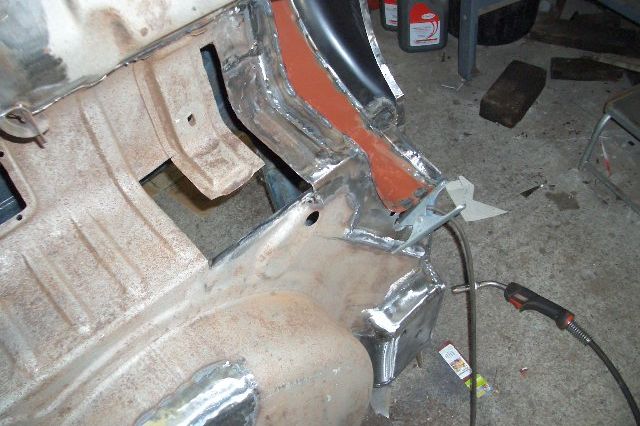
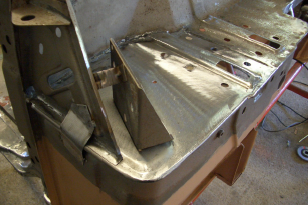
On to the bulkhead. Here the up-ended bulkhead is getting new edges welded to the vertical sections before the floor pan is fitted - this is the drivers side. Now, when I ordered the new panels I specifically asked "are these good copies", "yes sir they are exact replicas - superb quality", "so I can cut off my old floors and these will fit?", "Oh yes, except at the outer edge we give you extra metal which you need to trim off".
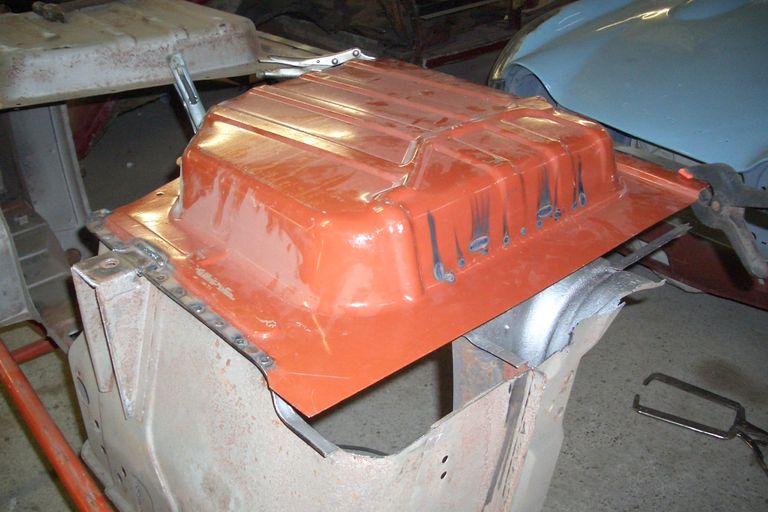
Hogwash!! As you can see the panel is way short of the outer edge, includes none of the mounting bracket area, and doesn't have the step in it towards the outer side also. So I raid the bin for the pieces I have cut off, then order a mounting bracket panel "best available" they boast and start reconstructing the very complicated shapes.

Heres the floor finished, even the mounting bracket repair panel was the wrong shape and didn't extend back to the edge of the floor - I was so unhappy with the suppliers.
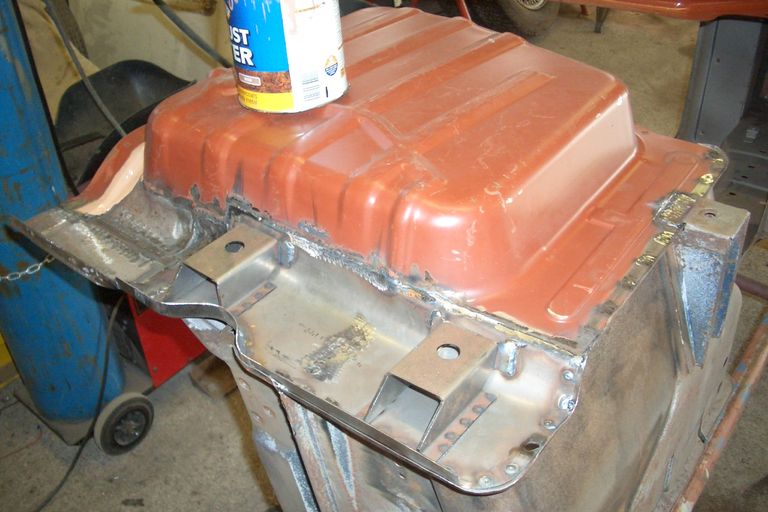
This took a huge amount of time to do and yet they reckon they could have taken my bulkhead, blasted, replaced all panels and primed for £400 - I don't think so. Sadly the rust in the bulkhead was further up too........
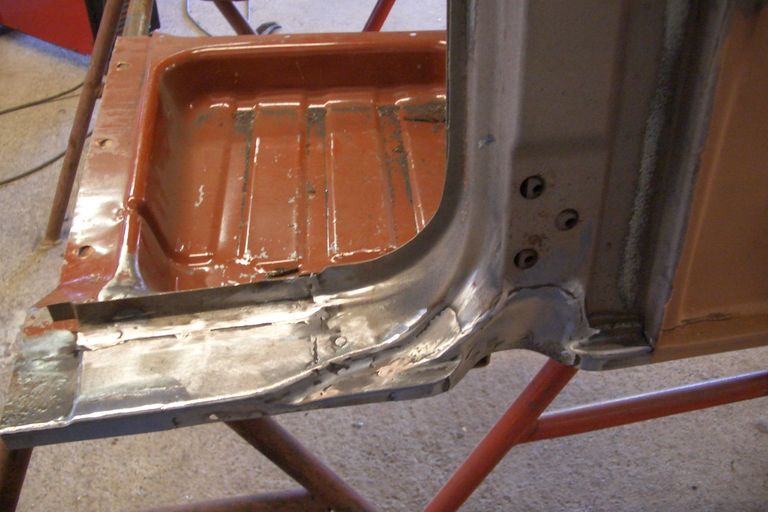
Really tricky shapes need several small pieces and good hot welds to really sink the repairs into the metal - why does it have to be this shape anyway?
New piece let into master cylinder area gives much needed strength back. This area flexes a lot on Heralds and Vitesses - try watching the master cylinder as you press the brake pedal. Just some little bits and pieces and new screen frame gutter sections to do now.
Quite delicate but easy repair on the screen frame uprights. First carefully cut off the rotten gutter strip and the rotten piece of the frame which it is welded to. Then bend a flange on to a strip of steel, offer it up and scribe the exact shape of the frame upright as it narrows at the top.
The trick is then to cut 3mm bigger and bend another flange the opposite way. Now you have a kind of Z section length which has some stiffness to resist warping from the welding which comes next.
Spot or plug weld the piece to the flange that takes the door seal. The small flange you made sits inside the outer edge of the frame and you seam weld in short sections right down the outer edge. Clean off and then plug weld a new gutter piece in place which is a simple L
section spaced away from the frame a few mm to create a gutter. Paint with weld through primer at each stage to resist future corrosion.
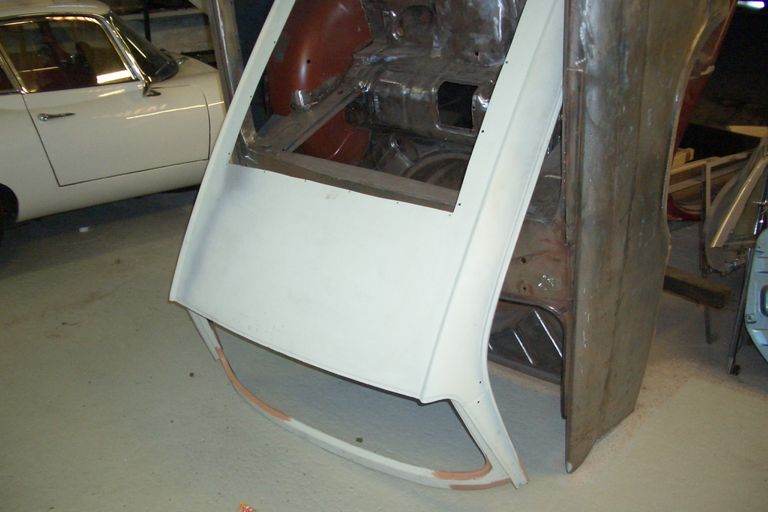
The roof gets some small repairs around the rear and an aperture cut in for a webasto sunroof (hence the second roof supplied as a template). The leading edge lip of the roof was opened up and any rust inside removed before treating, painting and refolding.
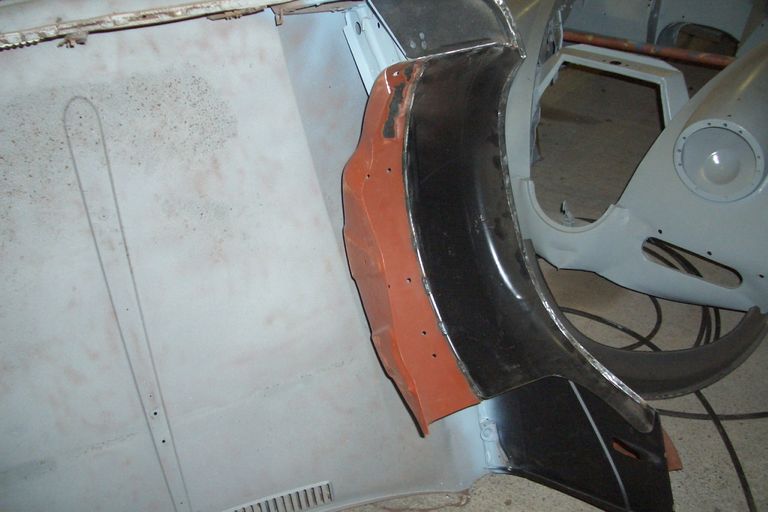
Then work starts on the bonnet with new outer wings, inner and outer wheelarches and D plates to start off with.
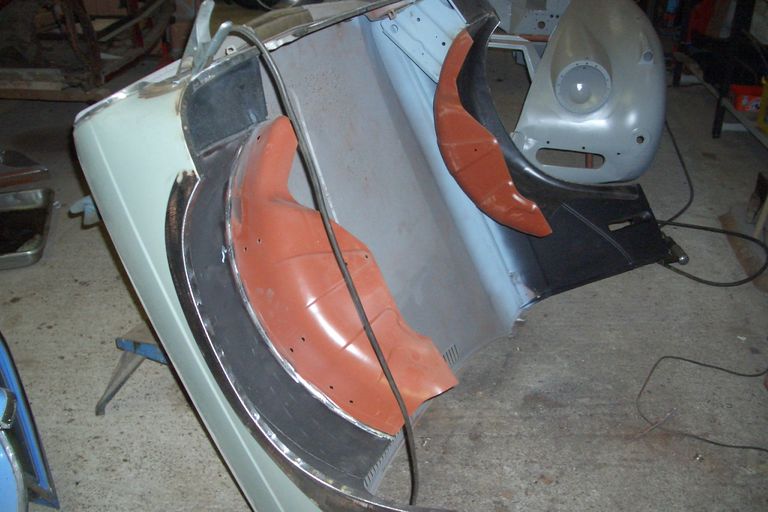
The bonnet gets quite stiff and much less flexible as the new metal goes in. I found an original replacement wing for one side which was so much easier to fit. The reproduction wasn't too bad but it take a lot of clamps to encourage it into position.
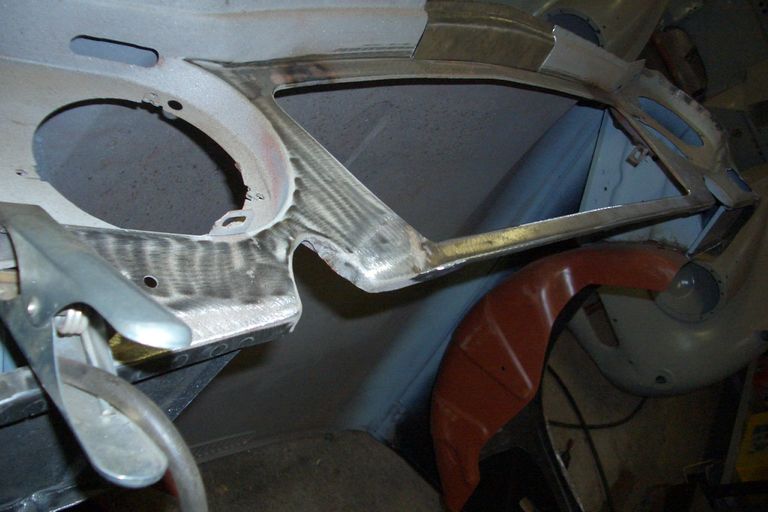
Some tricky repairs to the front panel finish it off - nearly. You'll notice the 'pram handle' is missing - the car having had a front end
thump which bent the curved section of tube that forms the bonnet hinge - that was why I was working on it years ago! A colleague at the time just whacked it back into approximate shape but I knew I'd have little chance of achieving good panel gaps unless the pram handle was straight (or at least correctly bent!)
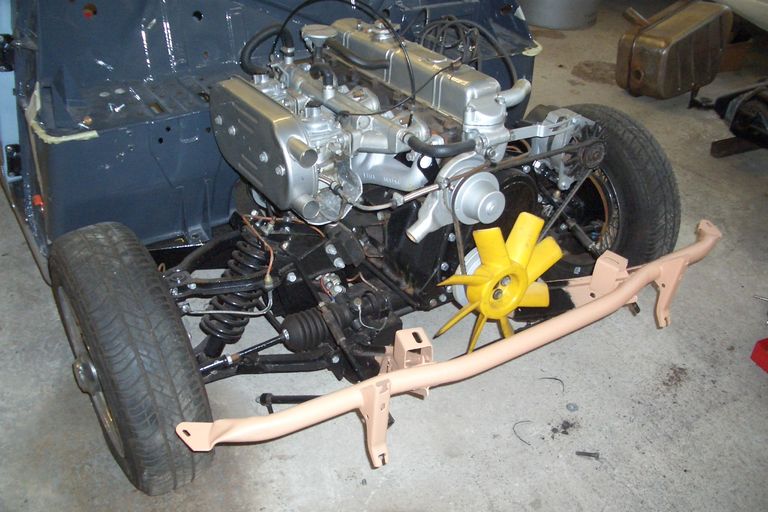
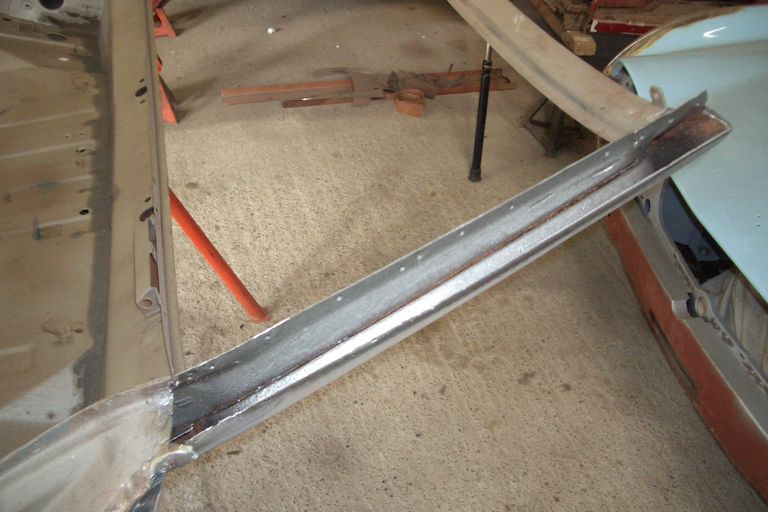
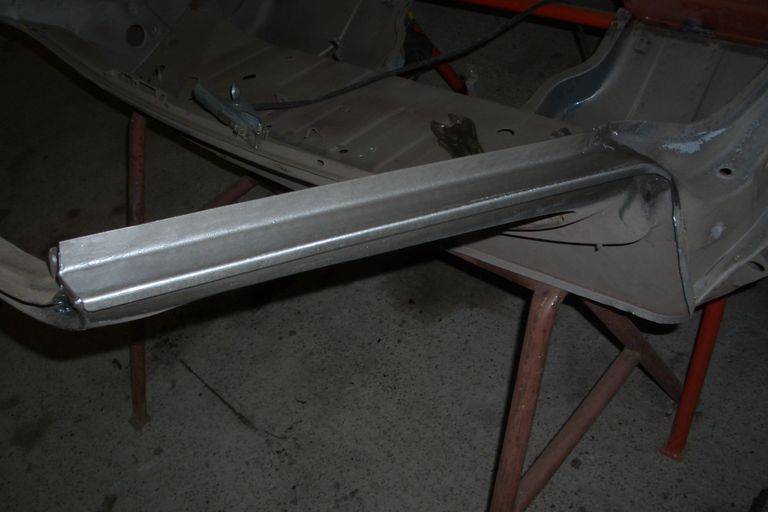
The chassis arrives all nicely restored except for the front cross tube which was rusty and bent along with the front chassis extensions. So they were straightened and the cross tube ends were replaced, all primed and painted.
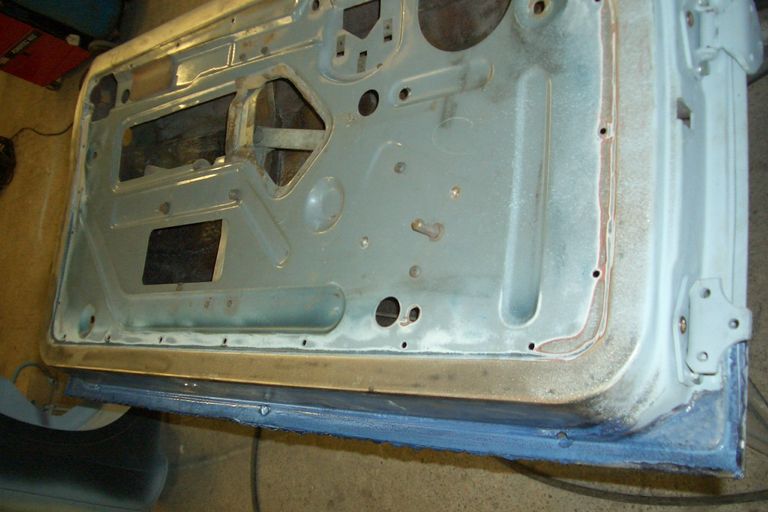
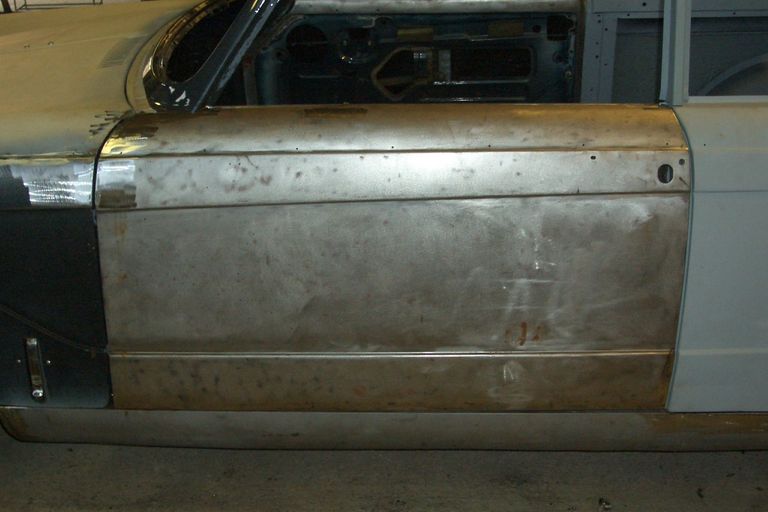
The doors needed very little - woohoo! but I opened up the
lower skin lips, de-rusted, treated and painted before refolding and seam sealing - it all takes so long!
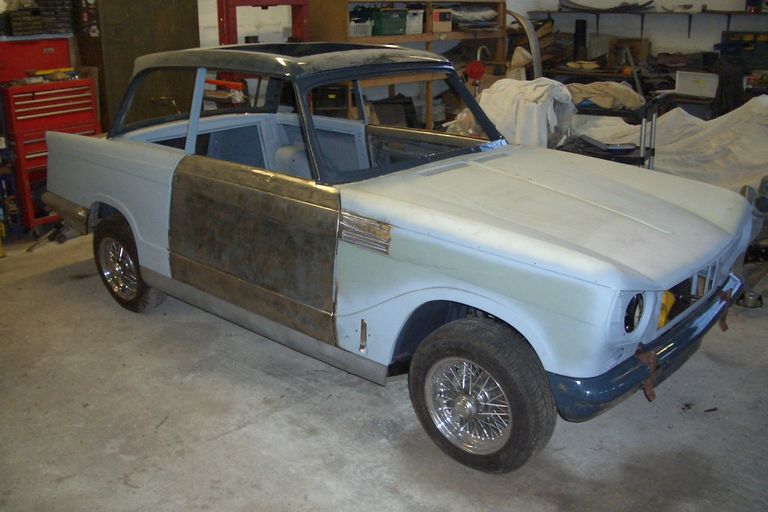
One major worry throughout this whole project so far was that none of the panels had seen the chassis or been fitted to each other. Would they fit? Have I measured correctly? We'll soon find out.
It all fits! Well it did after a lot of jiggling, shimming, adjusting, bending, thumping, etc etc. Quite a boost seeing the car taking shape and fitting together well. Every panel needed lots of time to get good gaps and flush fitting. Sills and valances were extended or shortened, door edges shaved or built up. Anything goes really, there are no rules with a build like this. I didn't know how good or bad the body fit was before, but the owner seemed very pleased at this stage so I must be doing something right. Some parts are already painted, but now it all comes apart again for final painting.
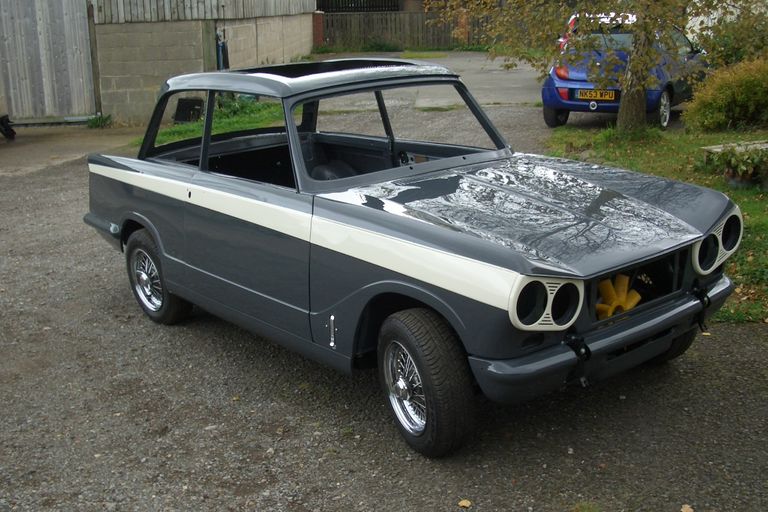
The finished article looks very smart in Triumph Gunmetal with Old English White side flash.
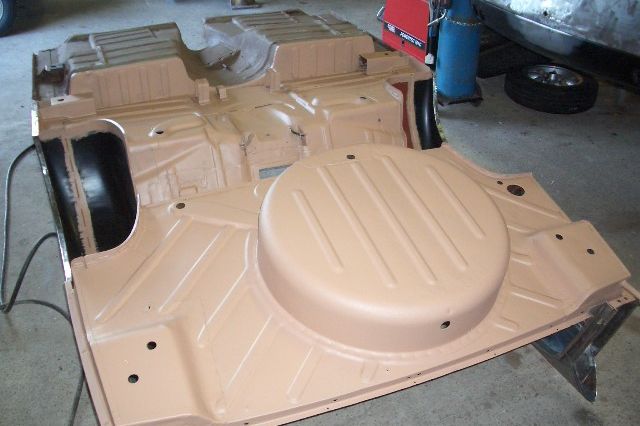
The painting process was as long winded as the bodywork. So many separate parts, 15 altogether. Each one had to be etch primed, then stonechip coat applied if necessary, then 2K primed, top coated and polished. Then the floor and valance panels had another coat of black
stonechip applied on the inside and all fitted together again with new fixings.
A long time passed between arrival and departure, but thanks to a very patient and understanding owner this Vitesse will be one of the best in the country. The complexity of the chassis, combined with the separate body structure and all the associated rust traps means
restoring a rusty one to a high standard must be beyond most home restorers abilities, finances
© Copyright 2020 Willow Triumph Ltd. All rights reserved.