- Home
- Contact
- Restoration Gallery
- Services
- How to find us
- Triumph TR4A Restoration
- Triumph TR4 Restoration
- Triumph TR4 Restoration
- Triumph Herald V8
- Triumph Spitfire 1500 Restoration
- Triumph Spitfire MK4 Restoration
- Triumph Spitfire 3.5 V8 conversion
- Triumph Vitesse 2ltr Convertible Restoration
- Triumph Spitfire Mk3 Restoration
- Triumph Vitesse 2ltr Mk2 Body Restoration
- Triumph TR6 Restoration
- Jaguar E Type body restoration
- Triumph Stag Restoration
- Triumph Stag Restoration
- Morris Minor Van Restoration
- VW Type 2 Camper Restoration
Jaguar E Type body restoration
It's about time I updated the website with some more horror - sorry - restoration stories. So here's one from 2017/2018 that entertained me for a while.
I think I'm a bit of a sucker for the ones nobody else wants to do! And this Series 2 Fixed Head Coupe falls square into that category. Bought by the current owner as a fire damaged project having had plenty of work done by the previous very long term owner - the standard of which was to become clear! This was obviously a rough car with many bodges visible and a very blotchy looking body.
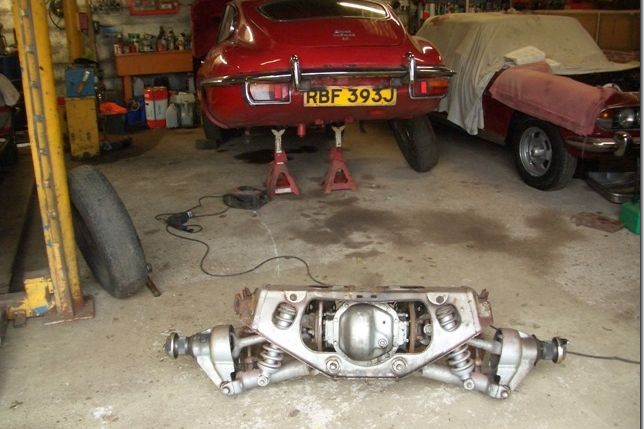
The engine and rear axle were reportedly rebuilt shortly before the fire. But it looks to me like they have just been painted silver. In fact this car reminded be a bit of a Matchbox toy, you know - the body is red, everything mechanical silver and black tyres.

The new owner was planning on restoring all of these bits so
he had plenty of fun rebuilding them again properly.
Many hours were spent scraping layer upon layer of underseal from the underside before what was left could be sent to be lasted and etch primed. It's this side of the job that you never see on TV, it's horrible work, it takes ages and really there's no easy way of doing it. It has to be done though and it makes the finished job so much better if you put the time in now.
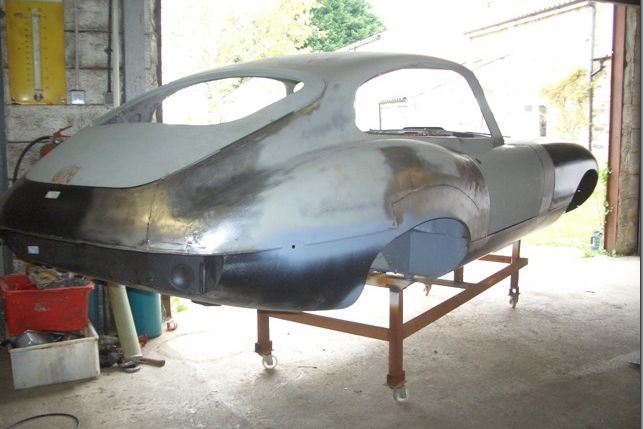
Naked. Nearly anyway. Soon all will be revealed.
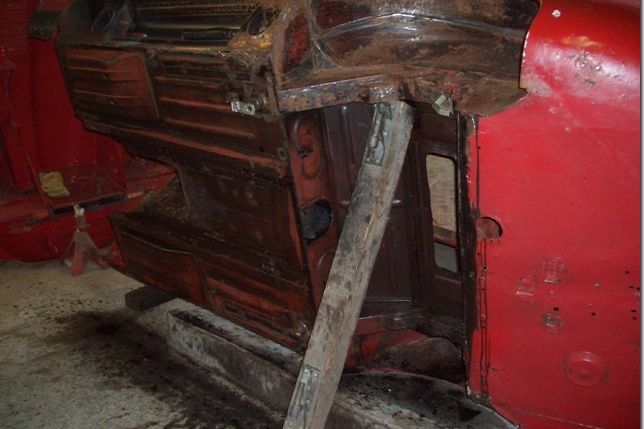
If the shell is going to get new sills anyway they may as well be removed before blasting as the inner cavity can get cleaned too. Normally this is what you'll find. A rotten outer, mouse nest, lots of rust, filler, etc and a partly rotten inner.
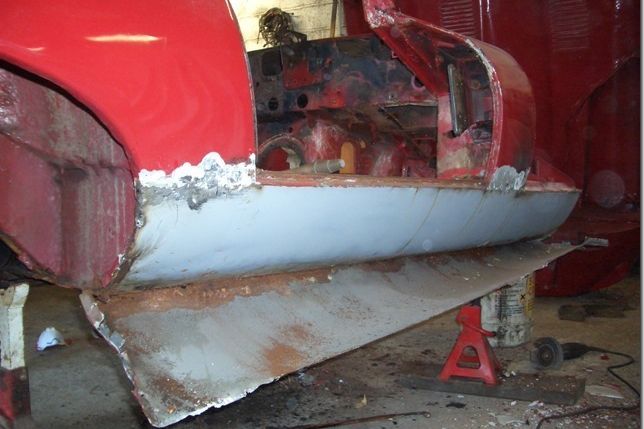
So this side was a big surprise - a rotten cheap oversill on top of a
very freshly primed not too rotten original!? Why? I still don't get it.

I have to show you some of the horrors before I get on with the repairs. This Series 2 car should have exposed headlights but the previous owner clearly wanted covered lights like the Series 1 - so some scoops were just stuck in with body filler, and of course the perfect fixing for the glass and chrome rims would be plasterboard butterfly screws naturally!!
This picture shows the expert welds used to hold the inner structure to the bonnet centre panel - they should be bonded in place - all covered in an inch of smoothed over filler of course. Nice work. What with this and much more I rated the bonnet as un-saveable
but it went for blasting anyway just to be sure. My prognosis was confirmed!
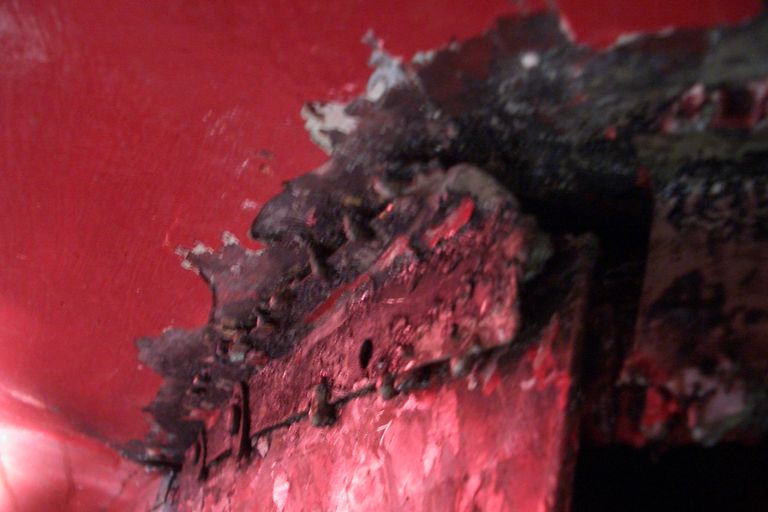
Saved the best for last. This hideous repair was unknown to the previous owner and must have been done quite early in the car's life. A heavy impact in the rear had just been battered flat and the whole lot covered in lead. Someone stood back one day and
declared 'job done' after doing that - it should be framed.
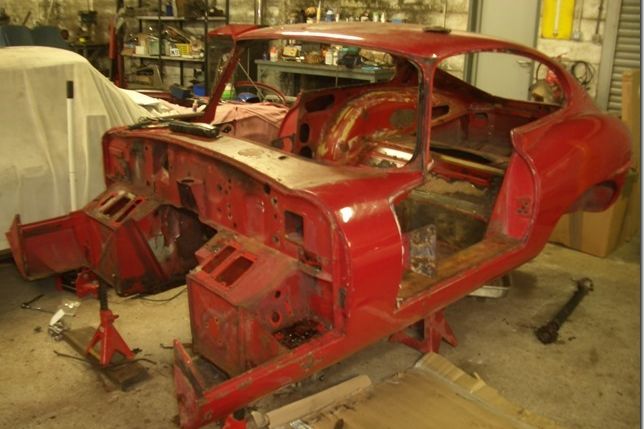
The general condition of the body after blasting was much less rusty than most, but much more beaten and bodged than a typical English car. Let's get on with it then.....
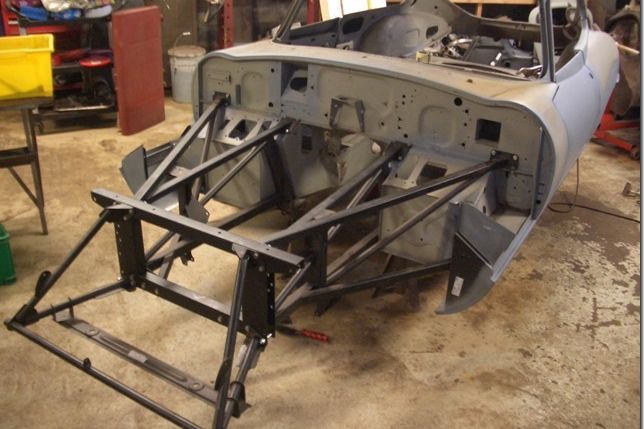
There's always an order to doing things and for whatever reason on this one I started with the boot floor. I wanted to get things squared up as much as possible at the rear and I had a complete new boot floor assembly to fit.
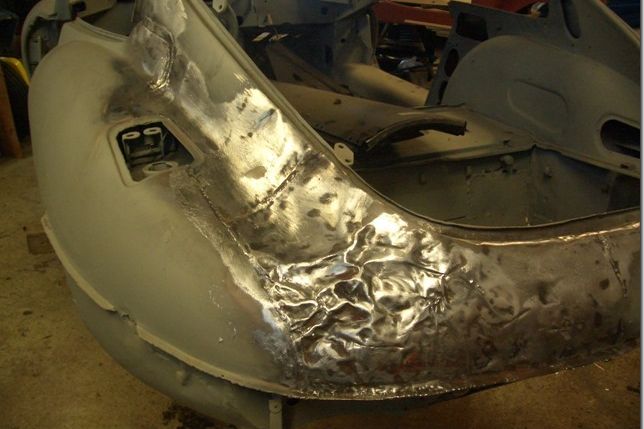
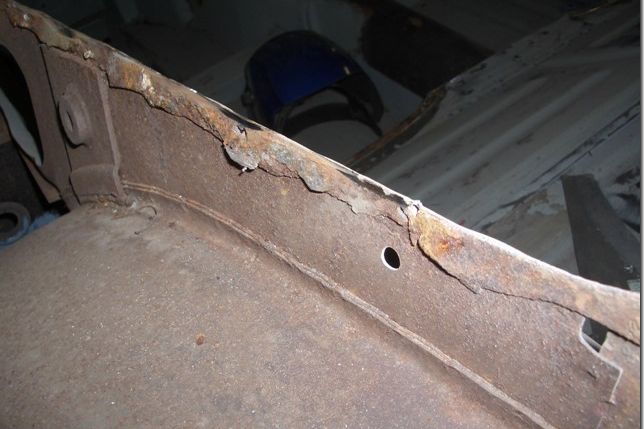
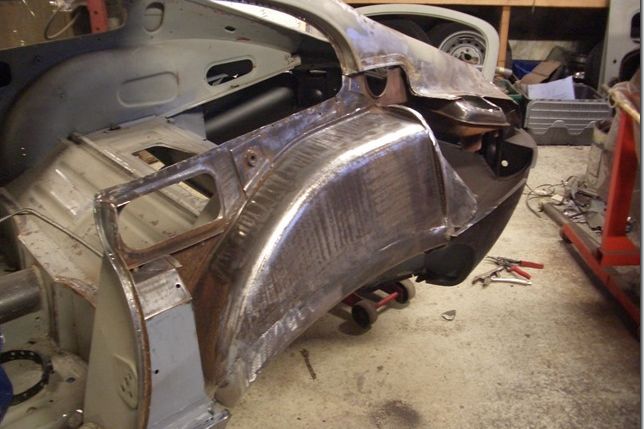
I started by repairing all of the inner panels and removing more dreadful repairs before cutting the rotten wheelarches away and making up repair sections for the inners seen here.
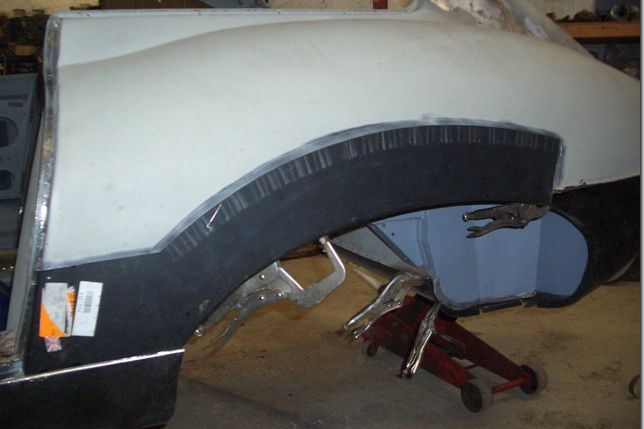
You'll have noticed it isn't red anymore, it's also considerably lighter and easier to work on, and much less daunting for an amateur when you don't have all the mess cluttering your view of the job. Seen above is the standard available repair section for the rear wheelarch which frankly is a joke as it is flat. You don't need me to tell you that an E type is curvy and by the time I had the repair in the right shape I could have made one from scratch
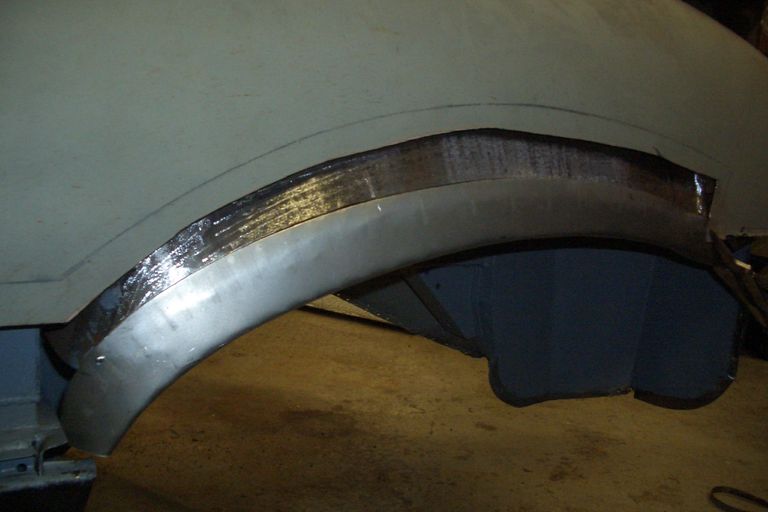
An extra complication was that this rear wing had been replaced at the time of the accident but it had just been tacked on top of the remains of the original. I fitted the repair section to the wing
and repaired the flange where it fits to the boot floor to give it some strength before removing it completely.
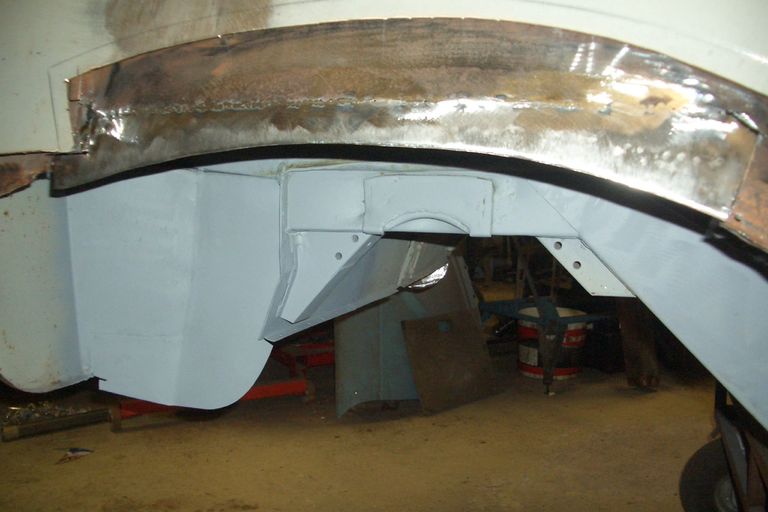
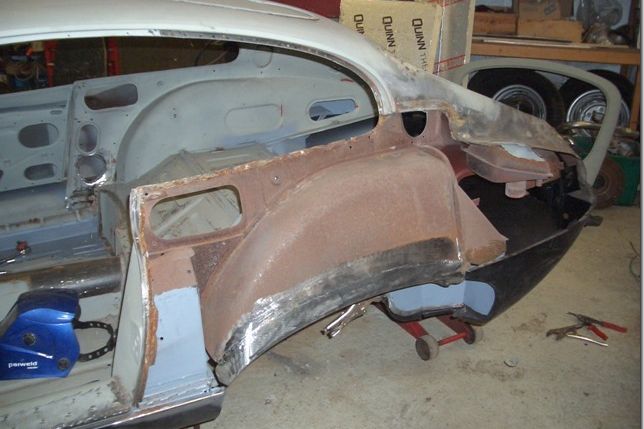
So all this could be removed and the whole inner structure cleaned up before getting its first ever coat of paint. I don't know why body shops leave the remains of an old panel behind, I see it all the time. It makes the new panel fit badly and the rust that is trapped in there rots through all three layers in double quick time. For now though it seems I'm just getting in deeper and not going in the right direction!
But it does let you clean up all of this (which will never be seen!) and give it a coat of paint.
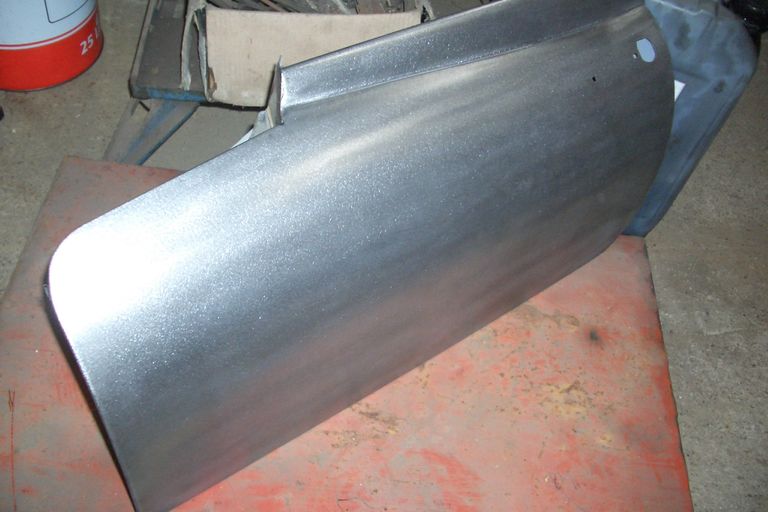
So here's one of the doors which re skinned very nicely and was a good positive distraction from the bodyshell. I also needed this to let me set the gap between it and the rear wing when it goes back on.
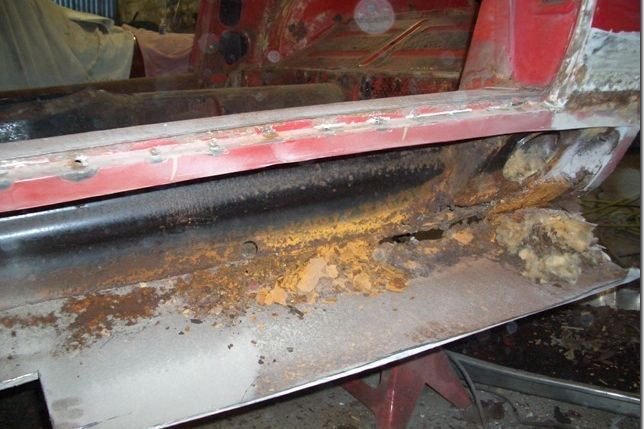
I mentioned earlier an order of doing things. With no rear panel or body structure there was no option of mounting the body on a jig to roll it over. But I was now at a stage that required the rear of the sill structure to be sound so the rear wing could go on, set door gap, align boot floor etc etc. I deliberated for ages with visions of disaster in my head about how to get good access to the underside and sills to do the repairs. In the end I shouldn't have worried as it was perfectly safe, easy and stable to prop the body on its side to do one side at a time. There are plenty of pictures of welding on this website so I'll abbreviate the process as it's quite straightforward. The standard available outer sill was a fairly good fit and you can see the outer
section of floor is getting replaced.

Now there is almost a snobbery attached to E type repair that says you must replace floors and sills in entirety rather than repair, but every job has a budget and there is no reason why good repairs can't be done. So the lower 2" or so of the inner sill was replaced, the outer section of floor, both end panels and the rear sill stiffener panel. I was surprised to find that neither the front or rear stiffener was attached by more than a couple of spot welds each - most of the factory welds were to fresh air! The stiffener piece for the seat mountings and the socket for the rear suspension arm were salvaged and reused and with everything butt, spot and plug welded the end result is virtually undetectable.
We're motoring now! Both sills done - much easier than you are led to believe helped by the fact that the replacements fit fairly well. Both doors fitted and gapped - I did have to add a little to this side to even the gap up, the rear wing is back on and as you can see I have fitted the new frames for the front too.
These were the standard available replacements and although they aren't top quality they did fit OK with just a little tweaking required. There's an elephant in the room though....
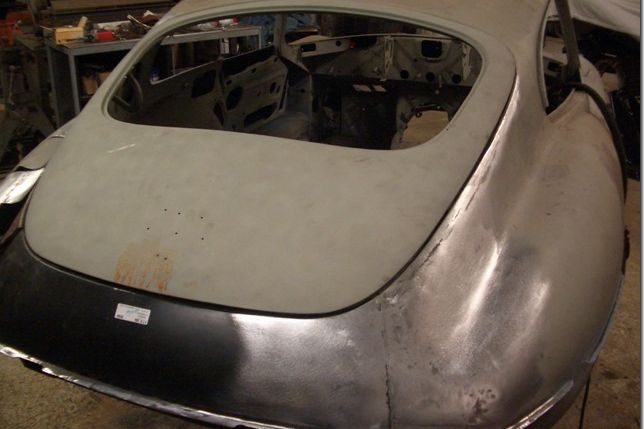
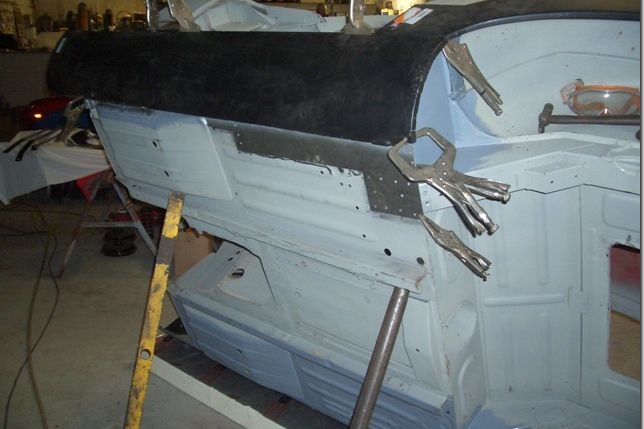
That rear end was hard work! With the new floor assembly fitted and a new rear panel (smaller than the we hoped it would be) it was getting there but at first the distortion in the inner structure meant the tailgate was overlapping the roof.
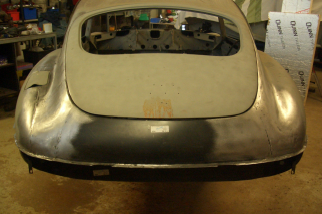
I set the tailgate position using the roof edge and worked around it until all that was left was a big hole where the crumpled bit was. The piece to fill it in was tricky but I got there eventually and the end result is not too shabby.
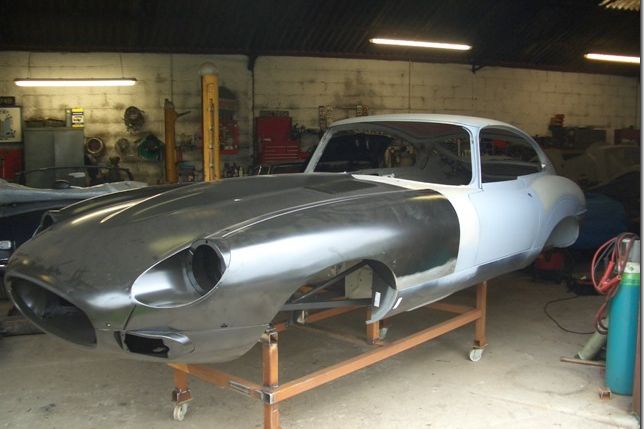
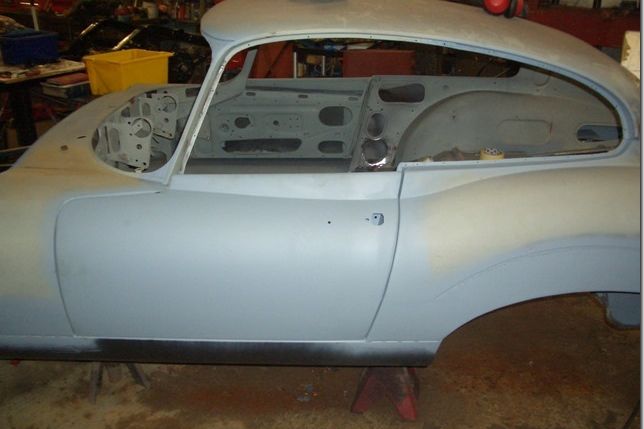
With the original bonnet unuseable and a search for a good second hand one unsuccessful the decision was made to go for a Jaguar Heritage bonnet. Not a very satisfying experience involving large scale incompetence at the factory, a damaged first bonnet, ridiculous expectations by their delivery department and to top it all off, when a decent bonnet was eventually had, it didn't fit! Obviously they each need to be trimmed to fit each car, but this one was overlapping the sill on one side and I definitely put the sills on right - I measured 100 times! It turned out to be due to unequal and unlevel bonnet and front wing sides meaning I had to cut the section off where it meets the sill, trim it and weld it back on again. But add to this the numerous ripples and surface imperfections and £7500 seems a lot!!
And there she is - gorgeous! Just about to leave for the paint shop with all door bonnet and boot latches fitted and working nicely - you really don't want to be thumping and grinding around the new paint to get them right later.
© Copyright 2020 Willow Triumph Ltd. All rights reserved.