- Home
- Contact
- Restoration Gallery
- Services
- How to find us
- Triumph TR4A Restoration
- Triumph TR4 Restoration
- Triumph TR4 Restoration
- Triumph Herald V8
- Triumph Spitfire 1500 Restoration
- Triumph Spitfire MK4 Restoration
- Triumph Spitfire 3.5 V8 conversion
- Triumph Vitesse 2ltr Convertible Restoration
- Triumph Spitfire Mk3 Restoration
- Triumph Vitesse 2ltr Mk2 Body Restoration
- Triumph TR6 Restoration
- Jaguar E Type body restoration
- Triumph Stag Restoration
- Triumph Stag Restoration
- Morris Minor Van Restoration
- VW Type 2 Camper Restoration
1976 Triumph Stag restoration
Another full Stag restoration, this time a Jersey car bought at auction which promised low miles, minimal rust and a sheltered previous life. A good starting point for a nut and bolt restoration with a lot of nice upgrades thrown in.
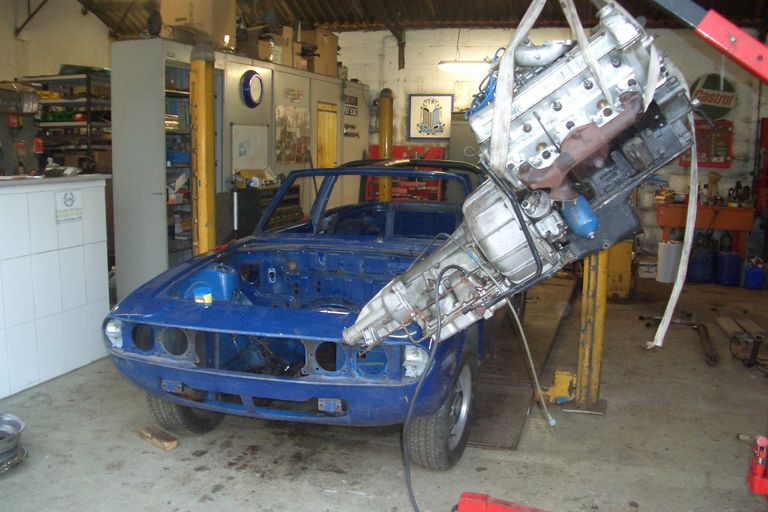
Stripping everything off it and here the engine and gearbox has just been removed. I always use strapping for tying the engine to the hoist - it's more forgiving and less likely to slip or jerk. If you have all this weight hanging over the front panel you don't want any sudden movements. Note the angle and also that I put the rear wheels of the car on the lift so I can effectively increase the angle some more if necessary. Good for Stags and Jaguar Mk2s.

On the face of it a good bodyshell but it soon became obvious that there was still a lot of work to do. I found that at some point in the past the whole passenger side had had a scrape front front to rear. So the first job was to change this wing and the front valance. The wing had already been replaced but because it had been done badly it was in worse condition than the original drivers side wing. All the rot cut away and the rusty metal cleaned up.
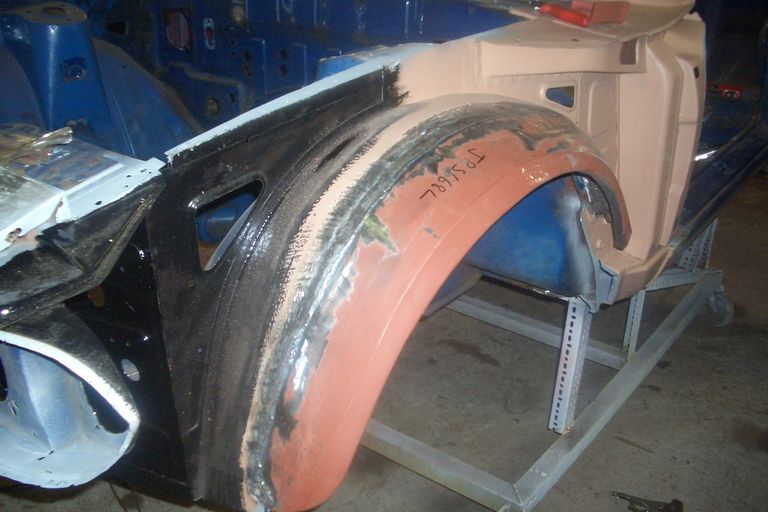
A few stages later, the rotten areas are repaired and a new outer wheelarch is fitted. You need to fit and refit the outer wing regularly because this panel needs to fit tightly to the wheelarch lip. Clean up all the welds and paint it - even though it will never be seen!
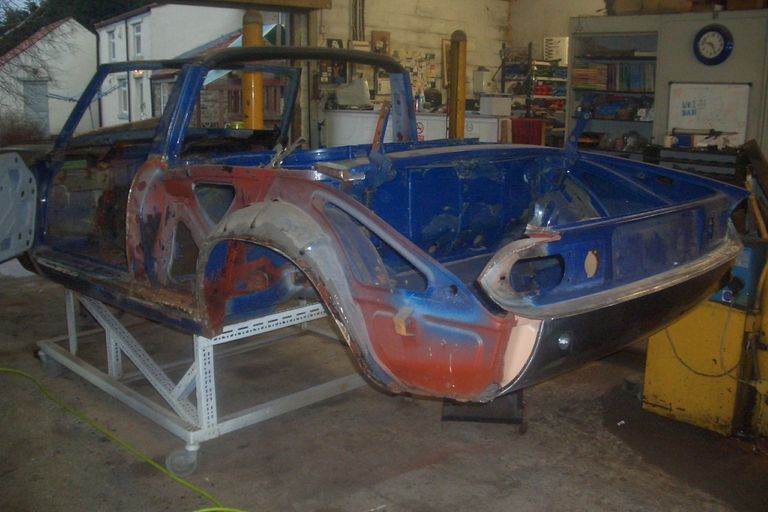
Moving around the car, the door has been re skinned and the full rear wing is removed. We spent extra ( a lot extra!) and sourced a NOS rear wing as the repair sections leave it looking a bit Frankenstein, and a reproduction rear wing isn't actually the full thing.
Generally better on this side but a new sill was required. This is how a Stag sill should be done with the lower sections of front and rear wings removed. You should always paint everything when it is exposed, it is the best rust proofer by far, better than anything else and will keep rust at bay for a very long time. Waxoyl or similar is great but over bare or rusty metal will not resist further corrosion for very long.
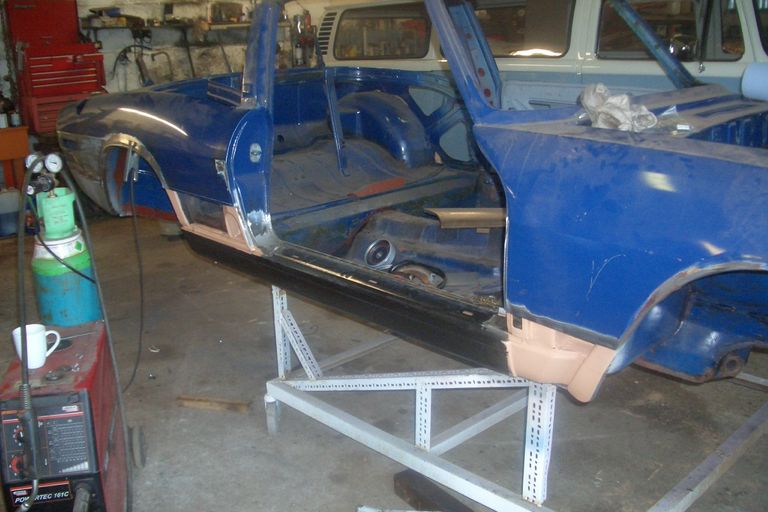
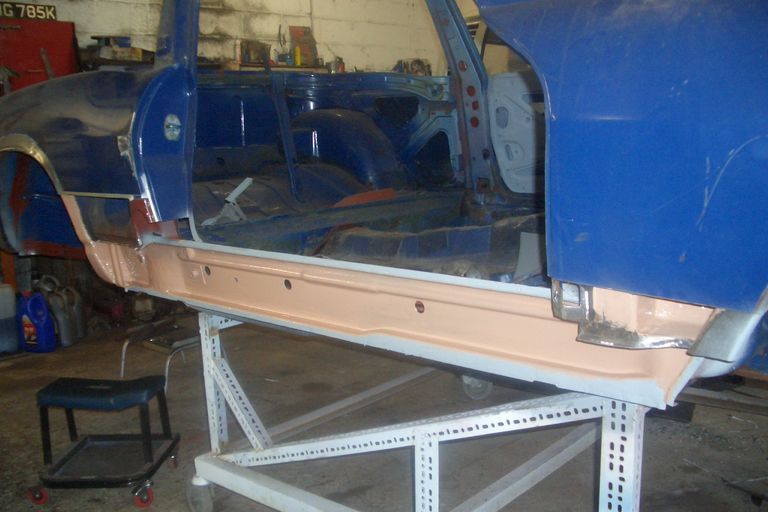
And here the sill is fitted. If you do it the right way they are not difficult but you'll have work to do at each end to repair adjacent corrosion (always). Very common rot spots for Stags - bottom of the rear wing where it meets the sill (look down through the hood stowage compartment they are always rusty down there) and front of the sill where it meets the front wing and extending down to the front outrigger and where the outrigger meets the chassis leg.
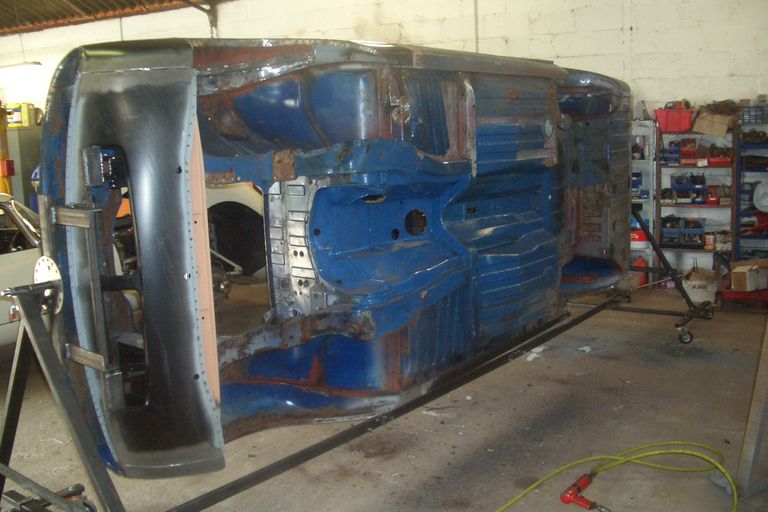
Bought myself a proper spit for this one which made the relatively few underside repairs easier and let me get any underseal off. All the blue tells you it's really quite good underneath which was a pleasant change.
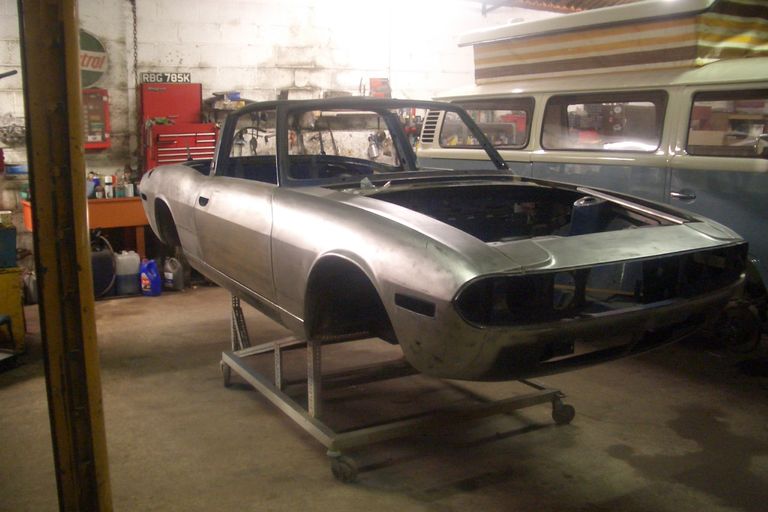
Getting ready to go the paintshop. Looks pretty good all bare. Door skin, sill and lower wing repairs on this side, front valance and rear valance, front wing, door skin and rear wing on the other side.
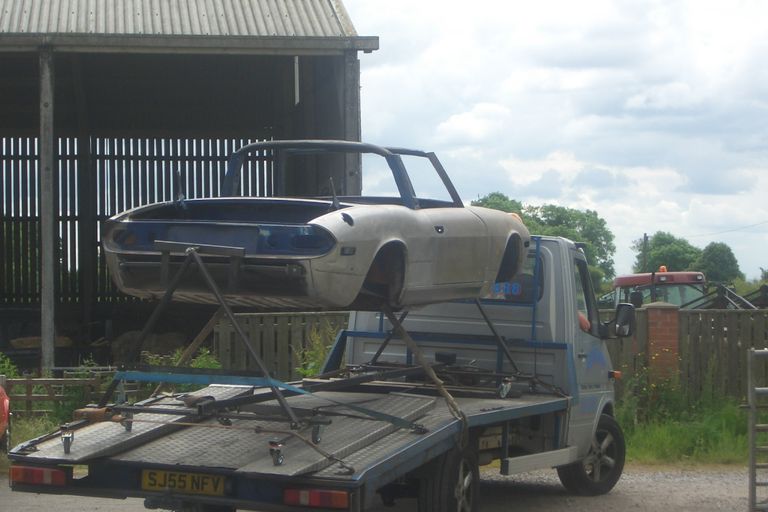
Aaargh I can't look! It looked so precarious leaving for the paintshop. Thankfully it arrived OK and it's a nice change of scenery when a project is away for a while.
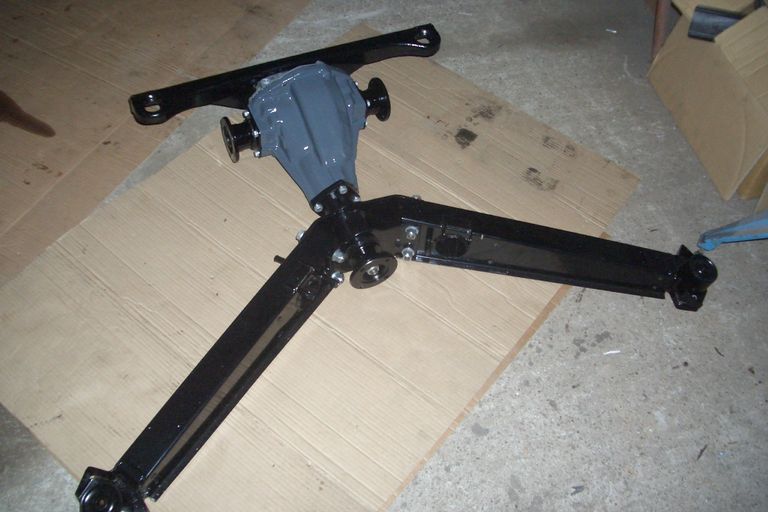
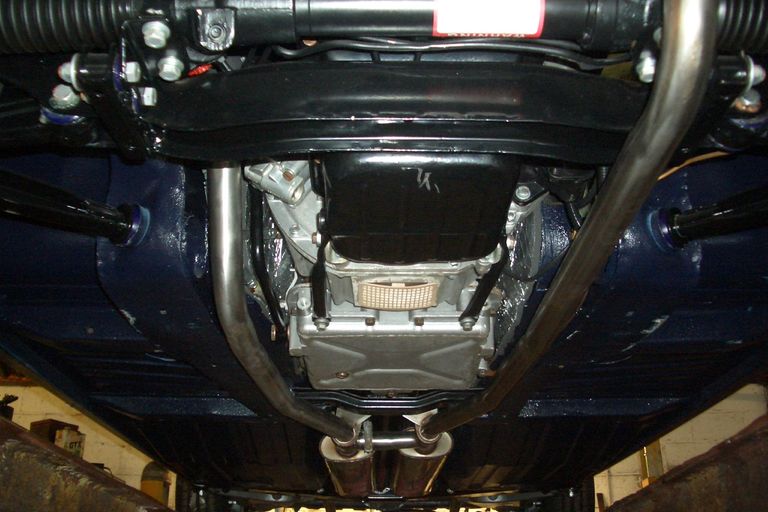
There is still plenty to keep busy with. Here's the diff, rear crossmember, pinion extension and subframe arms all assembled ready to go on.
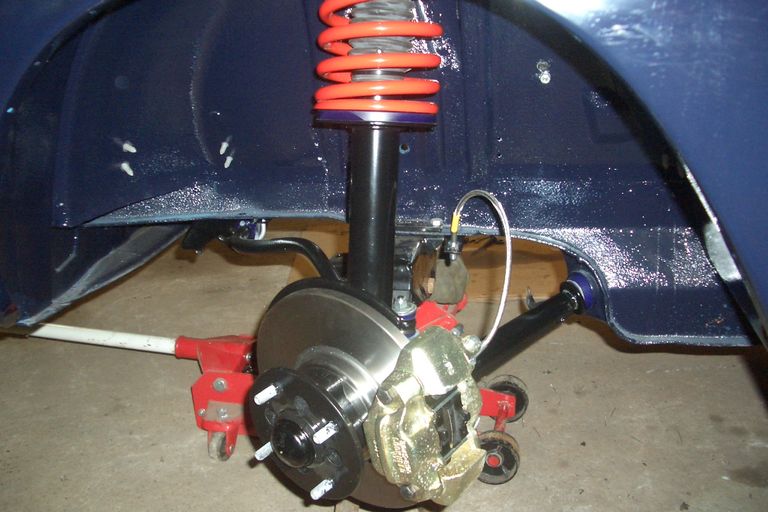
A super repaint in Triumph Royal Blue and I am fitting all the suspension etc to make it a rolling shell again. Small upgrades all over make for a much improved car without spoiling ride or handling. Polyurethane suspension bushes, progressive rate springs and good quality damper inserts are all you need to make a Stag feel great on the road. All new brake components with stainless braided hoses is all a regular Stag needs. Probably the single most common error I see on Stags is the drag strut bushes. They are always fitted backwards. They should be fitted with the flat surfaces facing each other sandwiching the chassis mount.
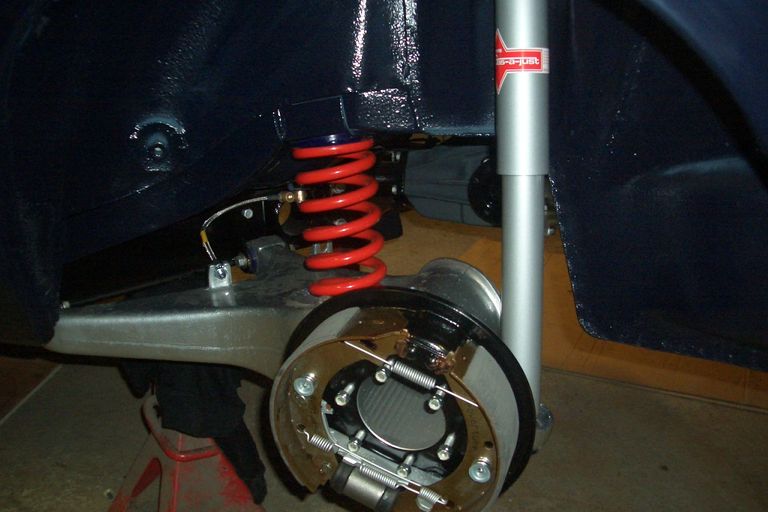
Rear suspension looking pretty. Poly bushes and progressive springs again, quality dampers (you don't need adjustable - who ever adjusts them after the first time?) You'll find the rear brakes very easy to assemble if you do them with the driveshaft out. Getting the self adjusting mechanism and springs all in the right place can be tricky when the hub is in your way.
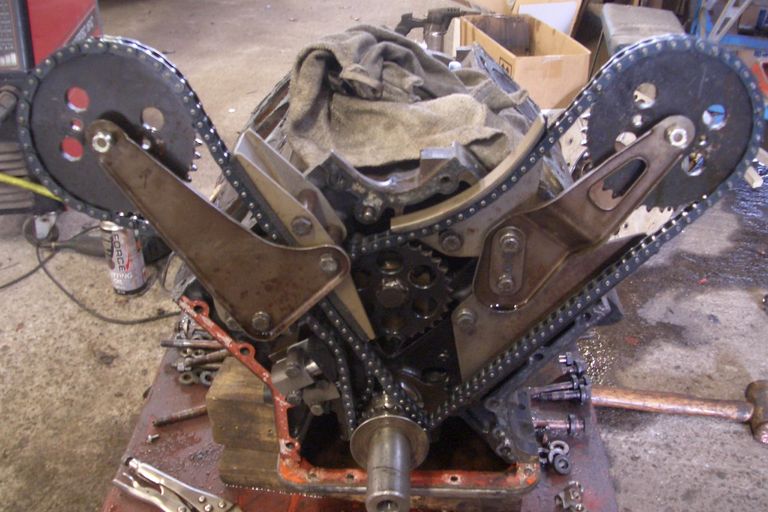
The owner hadn't really wanted the engine to be rebuilt (it was supposed to have already been done) but he was concerned it might not have been done right . Let's have a look then. Here are the famous Stag timing chains which (as with so much of a Stag) are a bit of an awkward git to do.
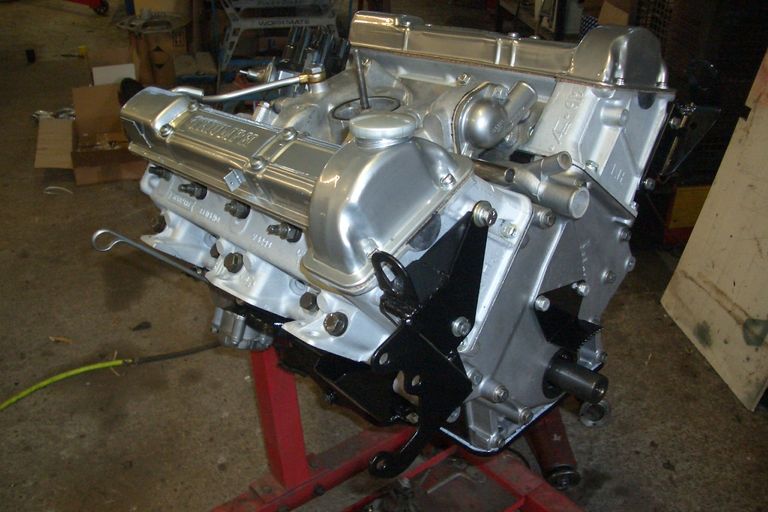
And yes it was a worn out mess inside so rebored, reground, heads all done, shimmed, all new bearings, seals, gaskets, chains etc etc. Looking all sparkly and ready to be put in the car.
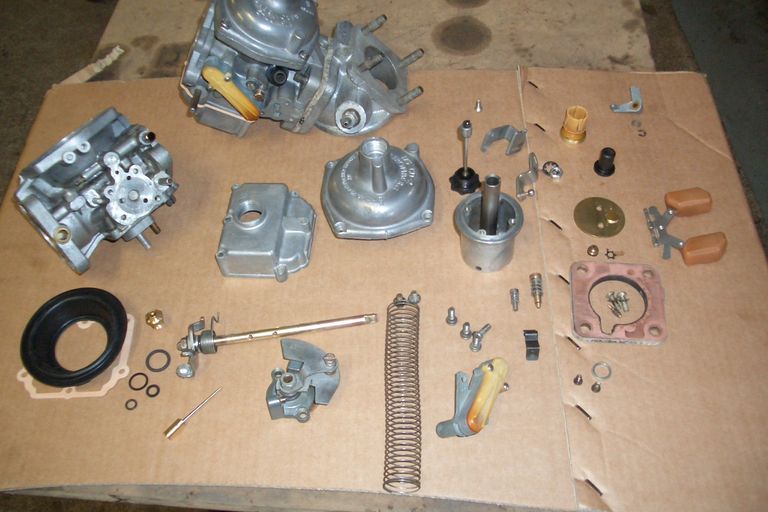
Rebuilding the Stromberg carburettors. They are simple enough and work well enough when in decent condition. Problems are usually caused by the poorly designed linkage and difficulty adjusting both airflow (because you have to remove so much to measure it) and mixture because the adjusters seize despite being within the damper oil reservoir.
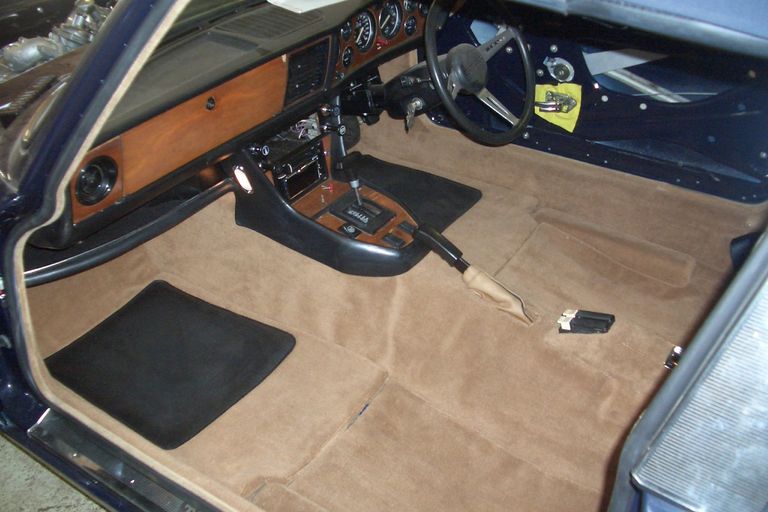
Much of the interior was re used but new carpets are a must. This is a good quality set but a neat job is all in the fitting. Use good glue on the stuck down sections (never on the floormats!) and take your time, trimming excess off as you go to keep all the shapes neat and tidy. I'd advise against aerosol adhesive unless it's a really good one. Most will self detach after a couple of weeks and return to a sticky state rather than stuck! 3M90 aerosol or Evo Stik brush on contact adhesive always do a good job.
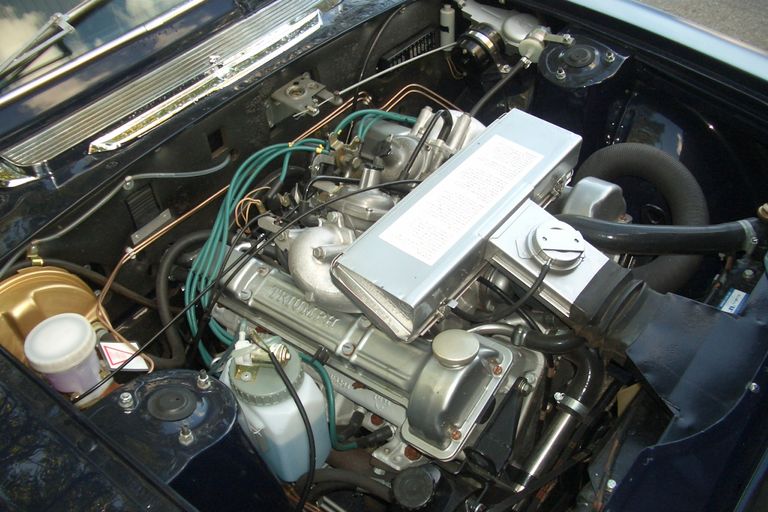
Engine in and looking good. I don't recall any running problems other than one irritating oil leak from the timing cover which I did manage to fix without taking the whole thing to pieces! They don't generate much power but it's enough and they do make a lovely sound.
Rebuilt gearbox and stainless steel exhaust system. The Borg Warner Type35 gearbox is terrible for leaks. If you have a dry one you are either lucky or there's no oil in it! Biggest recurring issue is a huge leak after a period of standing caused by the fluid gradually draining in to the sump until it fills up above the level of the breather pipe and pours out. It's not an easy fix.
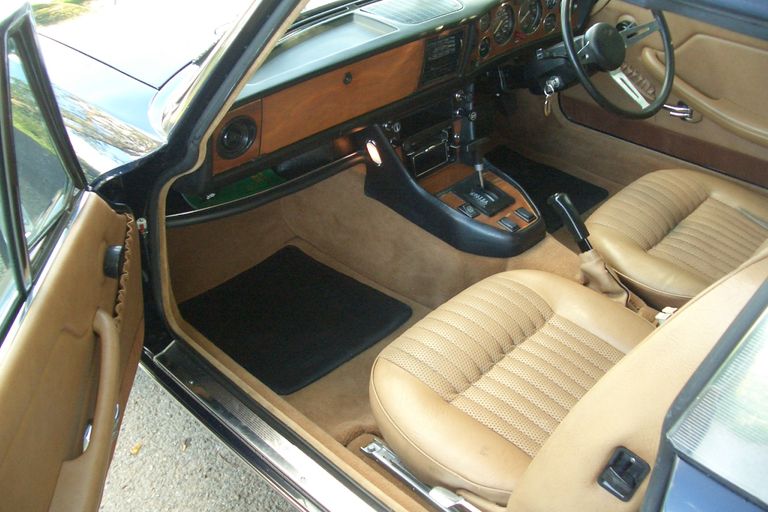
Quite a luxurious car in its day, and still there aren't many alternatives to a Stag. When it all works - brilliant! But choke cables are a nightmare, there's no room for the wiring to the window and interior light switches, parcel trays are always hanging off, steering columns go sloppy, don't get me started on the wiring for the interior/courtesy lights! and why was the radio aperture such a weird size? Fortunately there's a great adapter available now.
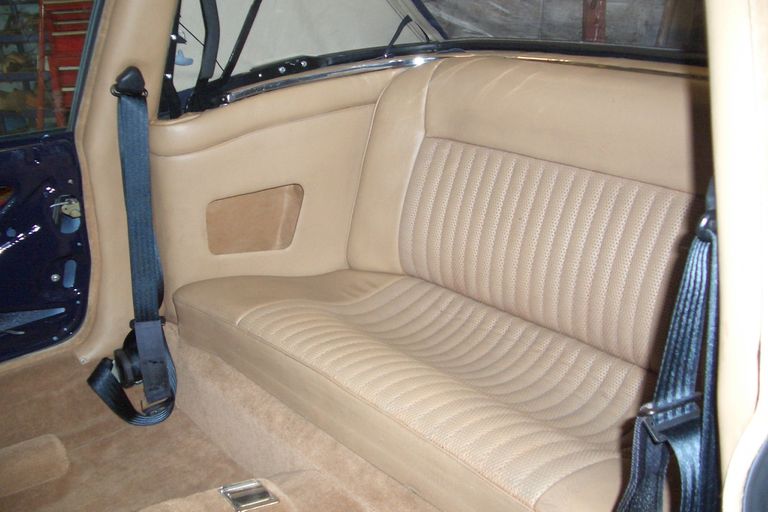
Amazing the seats are the originals just cleaned. Room here for two full size people - with legs!
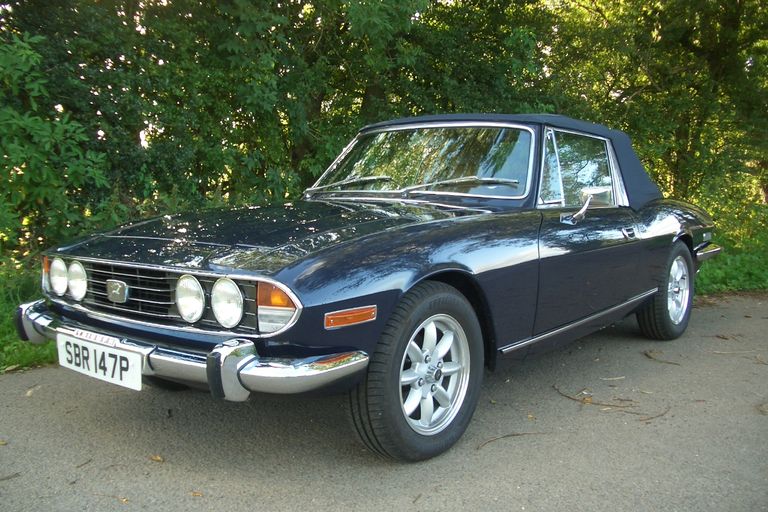
Looks so handsome with Navy blue Mohair hood and 15" wheels. We kept the coachline and sill covers off because it looked so sharp.
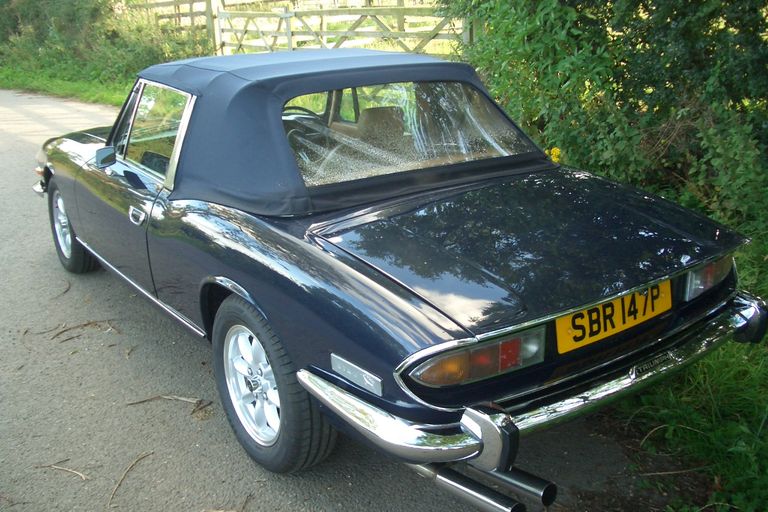
I fitted a complete refurbished hood and frame assembly to this one as the original was in such a state. Not entirely an easy solution, it has to be said the Stag hood design is diabolical and I routinely allow an extra day to sort bent and broken frames whenever do a hood on one. Still, it does look nice .
© Copyright 2020 Willow Triumph Ltd. All rights reserved.